このブログはmicroCMSで管理しているのですが、記事を書くときにMarkdown記法として保持しておく事ができなく管理が少しめんどくさく感じたので、そのうち自分で管理できるようにしたいです。そのため、少しずつ機能を作る練習をしていきたい。今回はweb上で動くmarkdownエディタを作ってみました。完成後調べてみるともっと使いやすそうなものがあったのでそのうち内容変えるかもしれません。
Next.js 14
Typescript
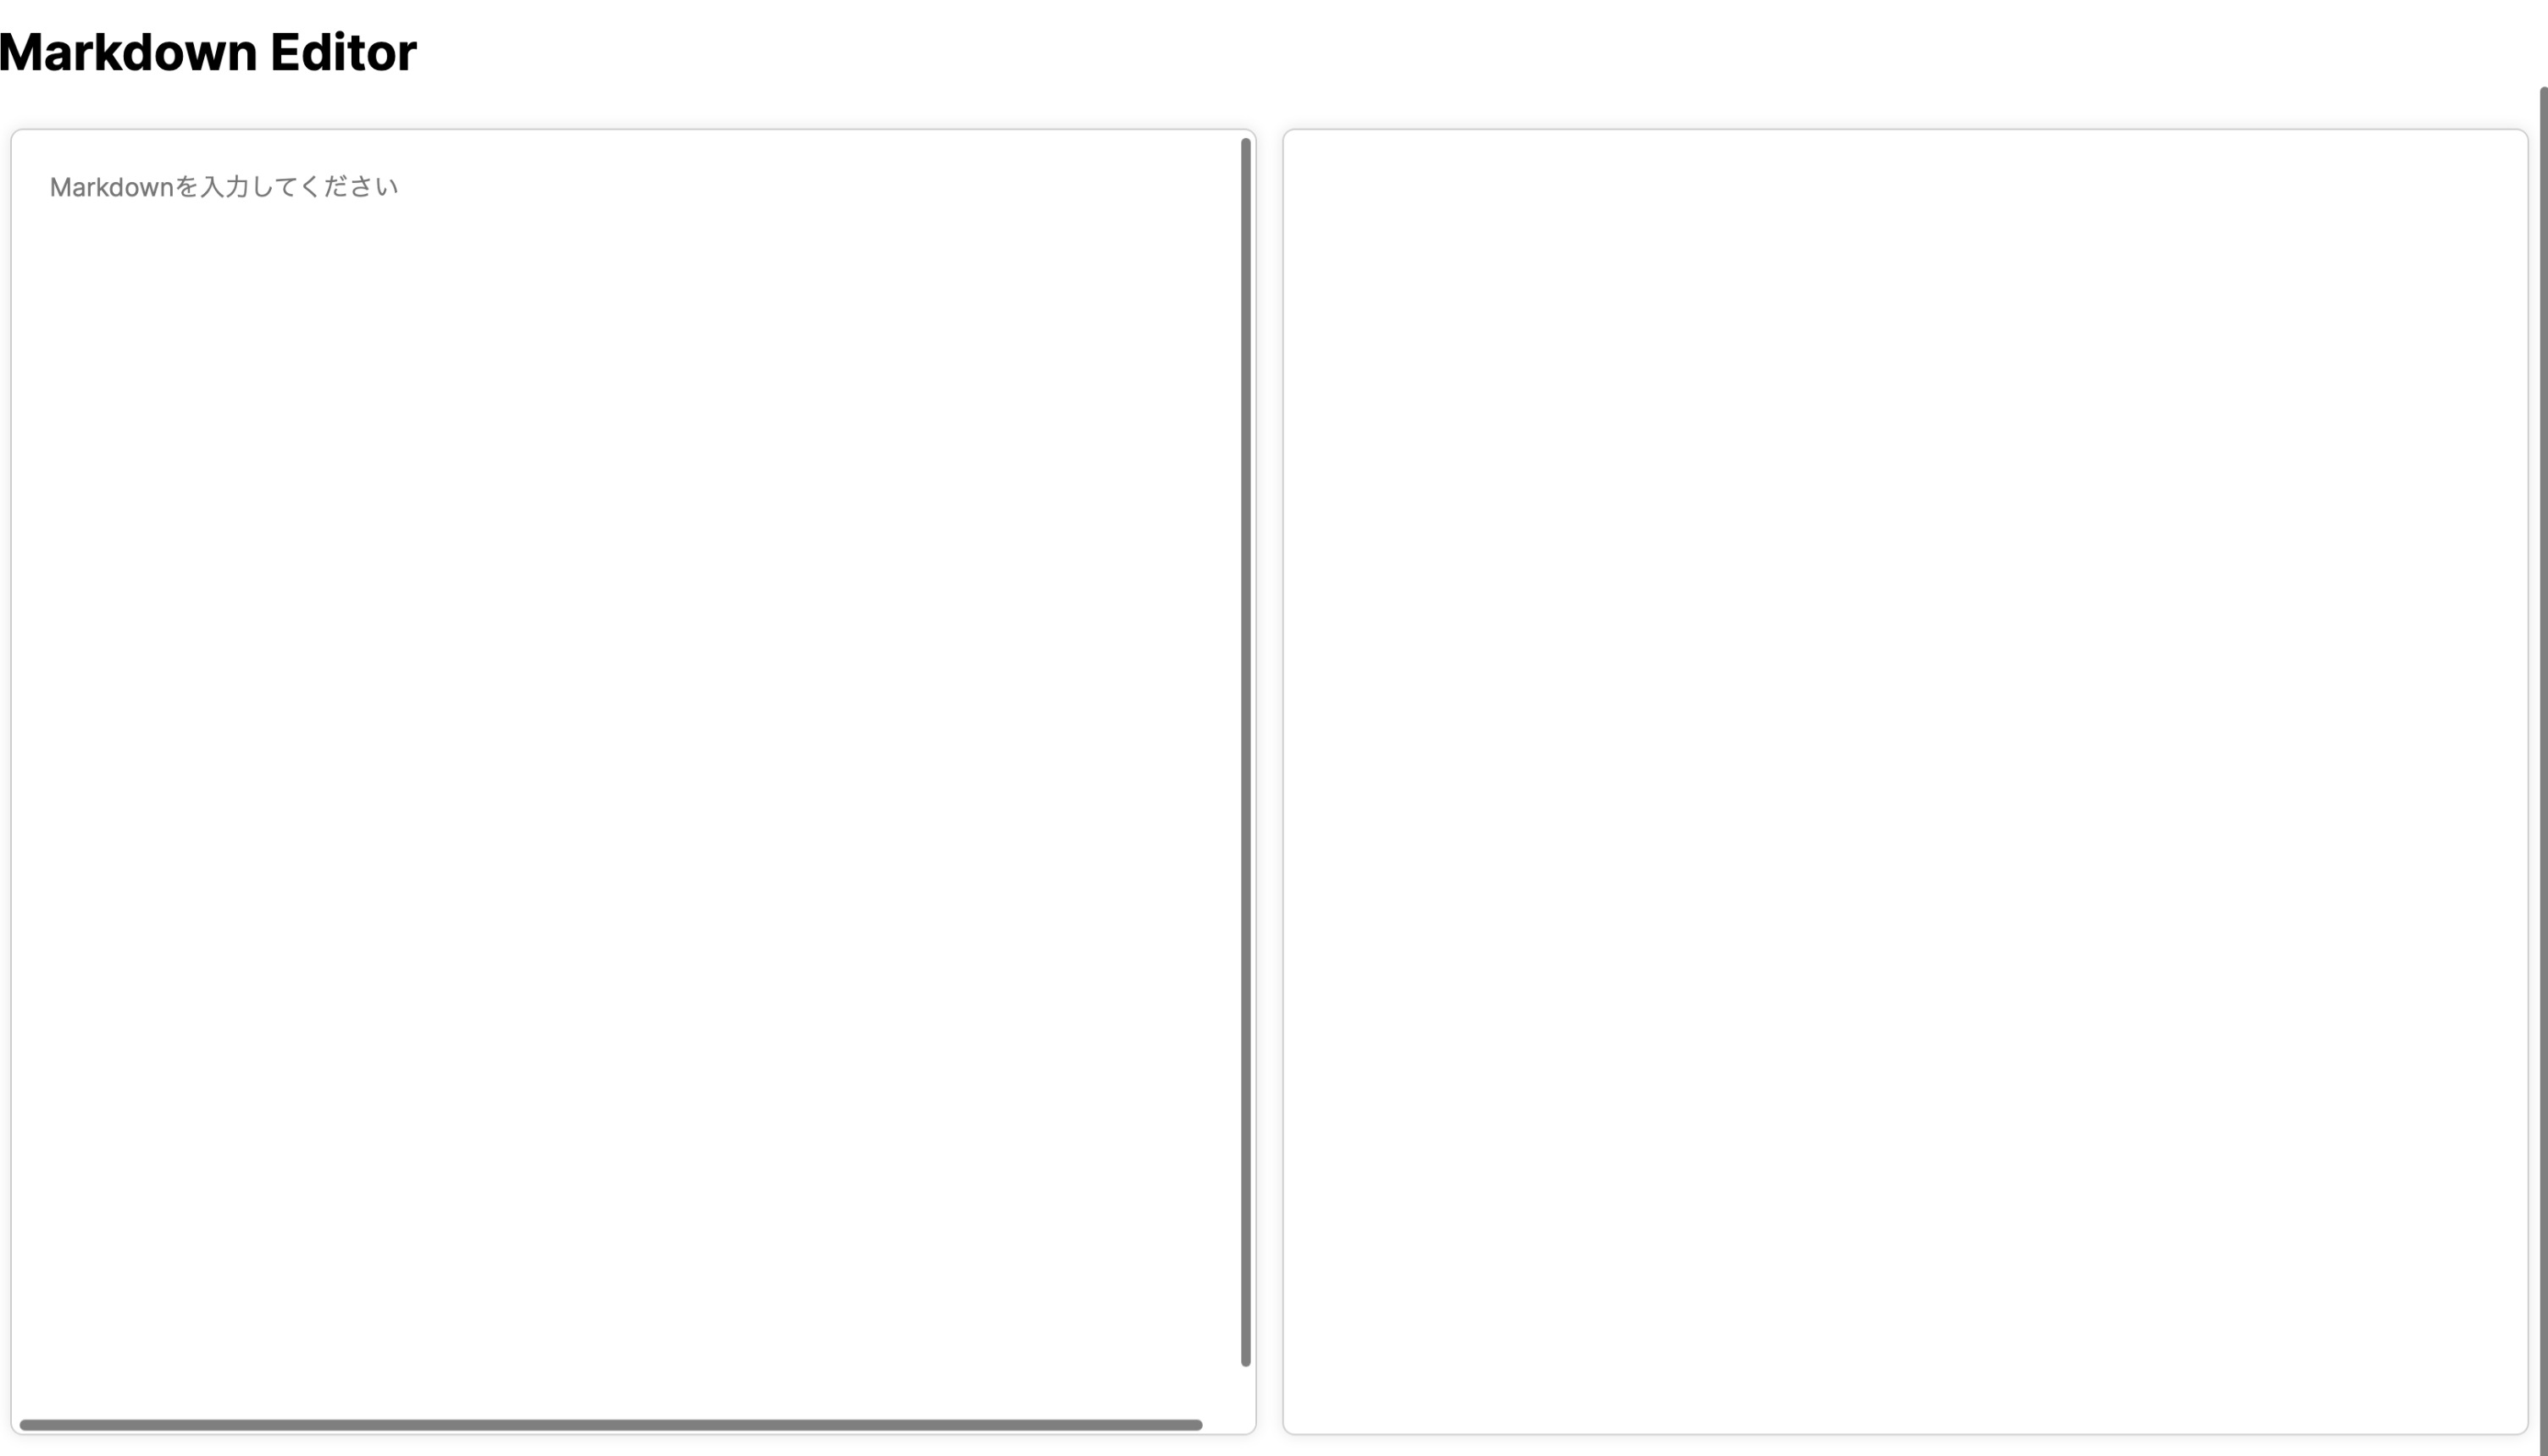
ユーザーが入力したマークダウンテキストを左側のテキストエリアに入力し、その内容を右側のエリアでリアルタイムにプレビューすることができます。useStateフックを使用してマークダウンテキストの状態を管理し、ReactMarkdownコンポーネントを使用して実際のマークダウンのレンダリングを行っています。また、remark-gfmプラグインを使用してGitHub Flavored Markdown(GFM)をサポートしています。スタイルを整えるためにzenn-content-cssを使用しています。
"use client";

import React, { useState } from "react";
import ReactMarkdown from "react-markdown";
import remarkGfm from "remark-gfm";
import "zenn-content-css";

const MarkdownEditor: React.FC = () => {
  const [markdownText, setMarkdownText] = useState<string>("");
  const handleInputChange = (e: React.ChangeEvent<HTMLTextAreaElement>) => {
    setMarkdownText(e.target.value);
  };

  return (
    <div style={{ display: "flex", height: "90%" }}>
      <div
        style={{
          width: "50%",
          padding: "1rem",
          margin: "0.5rem",
          border: "1px solid #ccc",
          borderRadius: "0.5rem",
          overflow: "auto",
          boxShadow: "0 0 10px rgba(0, 0, 0, 0.1)",
        }}
        className="znc"
      >
        <textarea
          style={{
            width: "100%",
            height: "100%",
            border: "none",
            outline: "none",
            resize: "none",
            fontFamily: "inherit",
            fontSize: "inherit",
            padding: "0.5rem",
          }}
          value={markdownText}
          onChange={handleInputChange}
          placeholder="Markdownを入力してください"
        />
      </div>
      <div
        style={{
          width: "50%",
          padding: "1rem",
          margin: "0.5rem",
          border: "1px solid #ccc",
          borderRadius: "0.5rem",
          overflow: "auto",
          boxShadow: "0 0 10px rgba(0, 0, 0, 0.1)",
        }}
        className="znc"
      >
        <ReactMarkdown remarkPlugins={[remarkGfm]}>
          {markdownText}
        </ReactMarkdown>
      </div>
    </div>
  );
};

export default MarkdownEditor;